
How To Align Garage Door Sensors?
If your garage door won’t close, reverses right away, or the sensor light is blinking, misaligned safety sensors are one of the most common garage door issues. Open the sections below to learn what the sensors do, why they get misaligned, and how to realign them safely.
Quick Answers (Tap to Expand)
What are garage door sensors and where they are located?
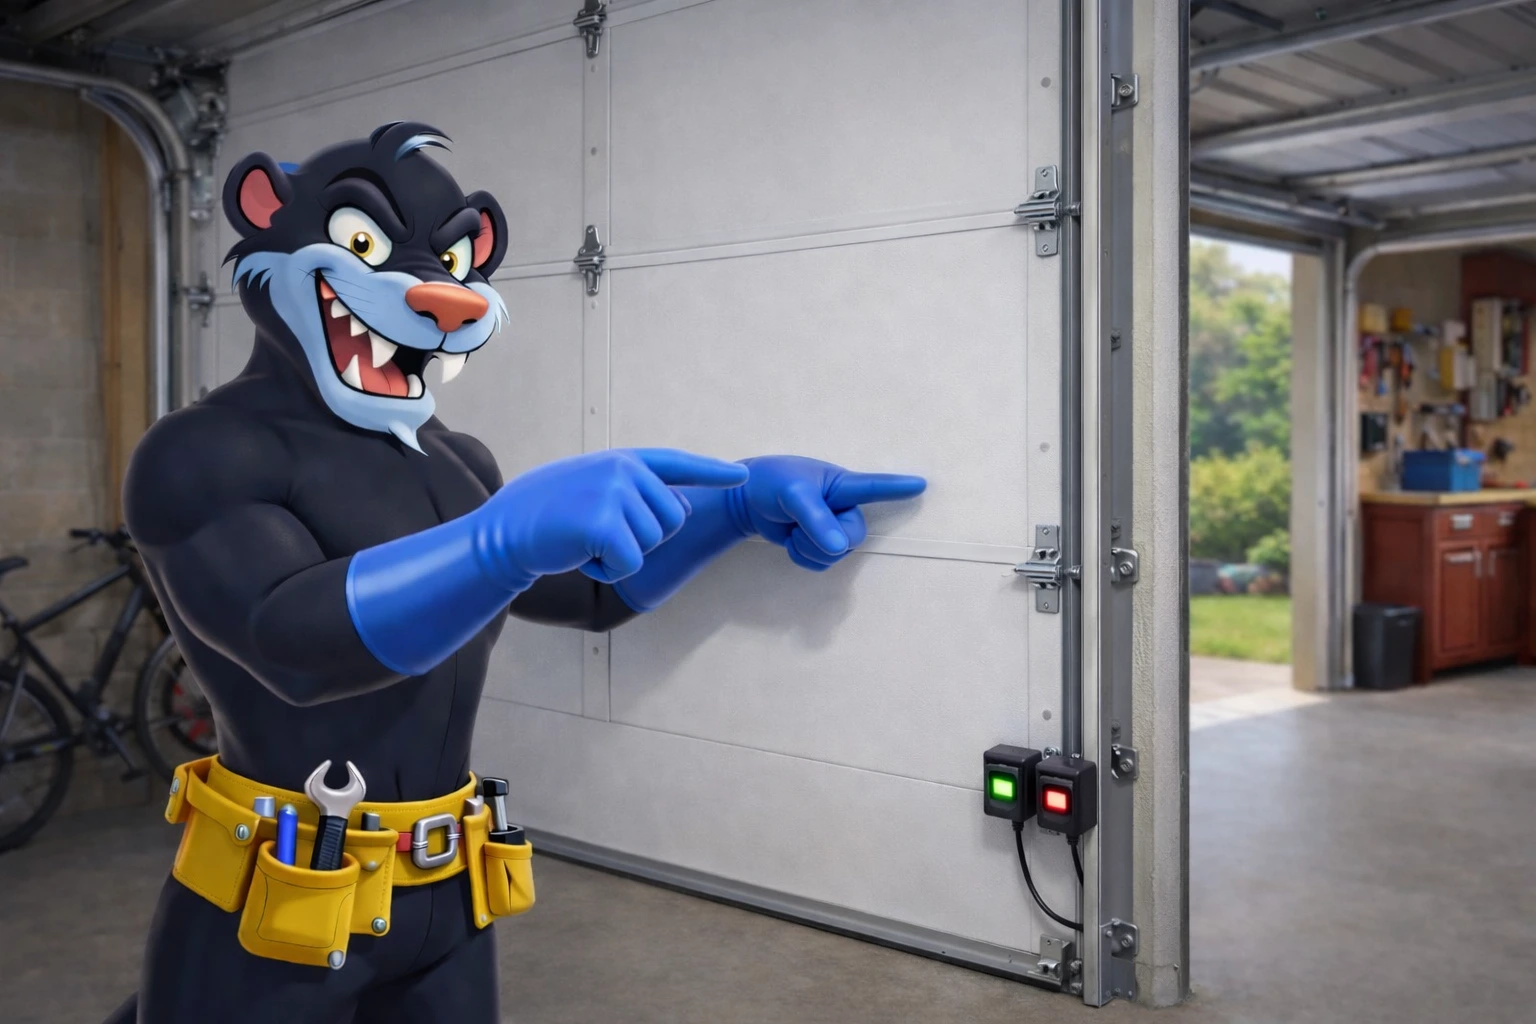
Garage door safety sensors (also called photo eyes) are a pair of small devices that “see” each other across the bottom of your garage opening using an invisible beam. Their job is to prevent the garage door from closing on a person, pet, bike, or anything in the doorway. You’ll typically find them mounted on both sides of the door track, about 4–6 inches above the floor—one sensor “sends” the beam and the other “receives” it. When the beam is blocked or the sensors aren’t aligned, many openers will refuse to close the door (or the door will start closing, then reverse). Knowing where they are and what they do is the first step to fixing a “garage door won’t close” problem caused by sensor misalignment.
What causes garage door sensors to become misaligned?
Most sensor alignment problems happen from everyday life in the garage. A light bump from a garbage bin, stroller, snow shovel, or car tire can twist the sensor bracket just enough to break the beam. Vibration from normal door movement can also loosen mounting hardware over time—especially if the door is older or the track area gets bumped frequently. In winter, slush and salt can build up near the floor and affect the sensor lens or bracket position. Even something as simple as a slightly bent bracket, a dangling wire, or dusty/dirty lenses can make it seem like the sensors are “misaligned.” The good news: in many cases, aligning garage door sensors is a quick fix with basic tools and a few careful checks.
How can I tell if my garage door sensors are misaligned?
The most common sign is when your garage door won’t close unless you hold the wall button down (many openers allow this “override” only for closing). You might also see the door start to close and then reverse, or the opener lights flash when you try to shut it. Next, look at the sensor LEDs: typically one light stays solid and the other should be solid when the beam is aligned; if one is blinking, off, or changing when you gently wiggle the sensor, alignment (or a loose connection) is likely the issue. Another quick test is to remove anything in the doorway, then carefully check if the sensors are facing each other at the same height. If one looks tilted inward or outward, that’s a strong hint your garage door sensors are misaligned.
How To Realign Misaligned Garage Door Sensors
To realign garage door sensors safely, start by making sure the doorway is clear and the garage door is fully open. Then, wipe each sensor lens with a clean microfiber cloth (dust or grime can mimic misalignment). Next, inspect the brackets: tighten any loose wing nuts or screws so the sensor doesn’t wobble, but keep it adjustable. Align the sensors by gently pivoting them until both sensor indicator lights are solid and steady (not flickering). Also check the sensor wires for damage, pinches, or loose connections. Finally, test the door—press close and confirm it closes smoothly without reversing.
 Step 1
Clear the area by the sensors
Open the door and move anything (bins, bikes, tools) away from the lower track area so the sensor beam path is clear.
 Step 2
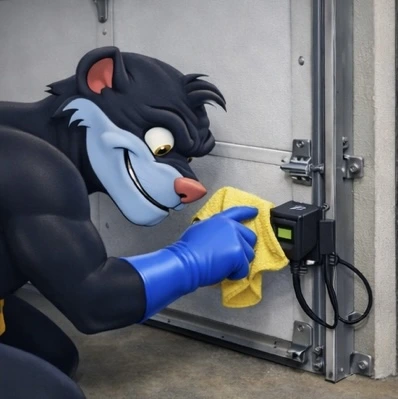
Clean the sensor lenses
Wipe both lenses with a microfiber cloth to remove dust, salt, and cobwebs that can interrupt the beam.
 Step 3
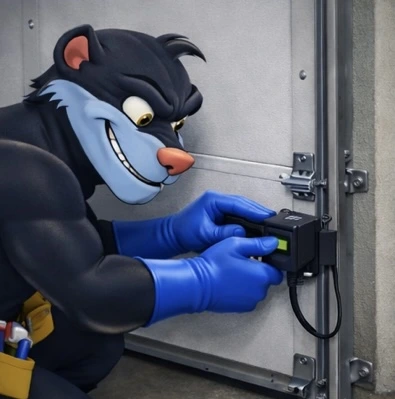
Tighten the sensor brackets
Snug up loose hardware so the sensors don’t wobble—keep them adjustable so you can aim them properly.
 Step 4
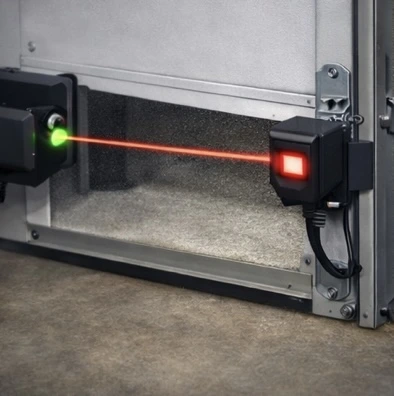
Align the sensors (beam straight)
Gently pivot the sensors until they face each other directly. The lights should become solid and steady.
 Step 5
Check wiring + confirm lights
Inspect for pinched or loose wires near the track and opener. Confirm the sensor LEDs are on and stable.
 Step 6
Test the door close
Use your remote to close the door. If it moves down smoothly without reversing, your sensors are aligned.
Maintaining sensor alignment
Once your sensors are aligned, a few habits can keep them that way. Keep the track area clear so bins, sports gear, and tools don’t bump the sensors. Every month or two, do a quick “light check” to make sure both sensor LEDs are steady and not flickering. Wipe the lenses during seasonal cleanups—especially after winter when salt and road slush tend to collect near the garage floor. If you notice the sensors are often getting knocked, consider upgrading the bracket stability or adding a small protective barrier (without blocking the beam).
Still having issues?
If you’ve cleaned the lenses, tightened the brackets, and the lights still won’t go solid, the issue may be beyond alignment (damaged wiring, a failing sensor, sunlight interference, or an opener logic issue). If you’re in Vaughan or the GTA, Garage Door Beasts can diagnose the issue quickly and get your door closing safely again.
Need help today?
Book a service call or ask us a question. We’ll help you get your garage door closing safely again.